Typing Trainer Installation

Mike Ross
Last Update 3 tahun yang lalu
Step 1.
Download and install the Typing Trainer Installer from this link: https://aolccbc.com/downloads/TypingTrainer.exe
Step 2.
Click on your start menu and type "Typing Trainer"
Right click and pin to taskbar
Step 3.
Click on the Green Leaf on your task bar to open typing trainer.
Step 4.
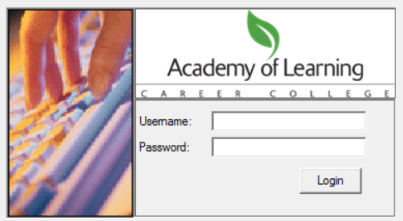
Log in with the Administrator login info:
Step 5.
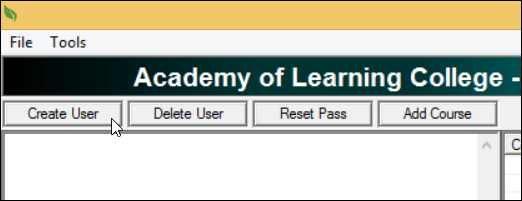
In Typing Trainer, click the Create User button.
Step 6.
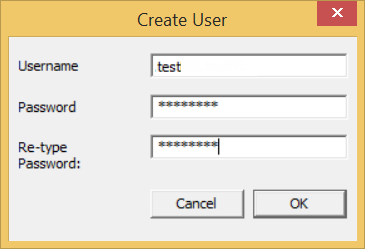
In the Create User window that opens, enter your username (provided by your campus), and create a password.
Be sure to make a note of the password so that you do not forget it.
Step 7.
Click OK to create your user account. You will now add your course.

Step 8.
Click OK to close the message, select your user account, and then click the Add Course button. The Select Course window opens.
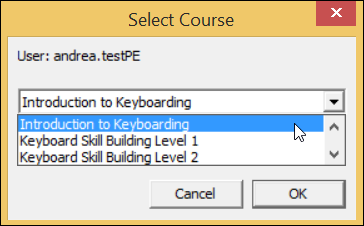
Step 9. In the Select Course window, click the arrow and select your keyboarding course from the drop-down menu.
Step 10.
Click OK to close the window and add the course to your user account.

Step 11.
Close Typing Trainer. Now, to use Typing Trainer, Click the Typing Trainer icon on the taskbar or search for Typing Trainer in your start menu.
Step 12.
When Typing Trainer opens, log in using your username and the password that you created.
Note: Do NOT use the Administrator credentials after creating your account.
Step 13.
Delete the Typing Trainer installer from your downloads folder.
Do not reinstall the program, it will delete your progress.